
More Than Rounded Corners! Inverted Corners Give Your Cards a New Look
A rounded edge adds softness. An inward curve adds an unexpected detail. From vintage-inspired tickets to minimalist cards, discover how a small change at the corners can express your design ideas.
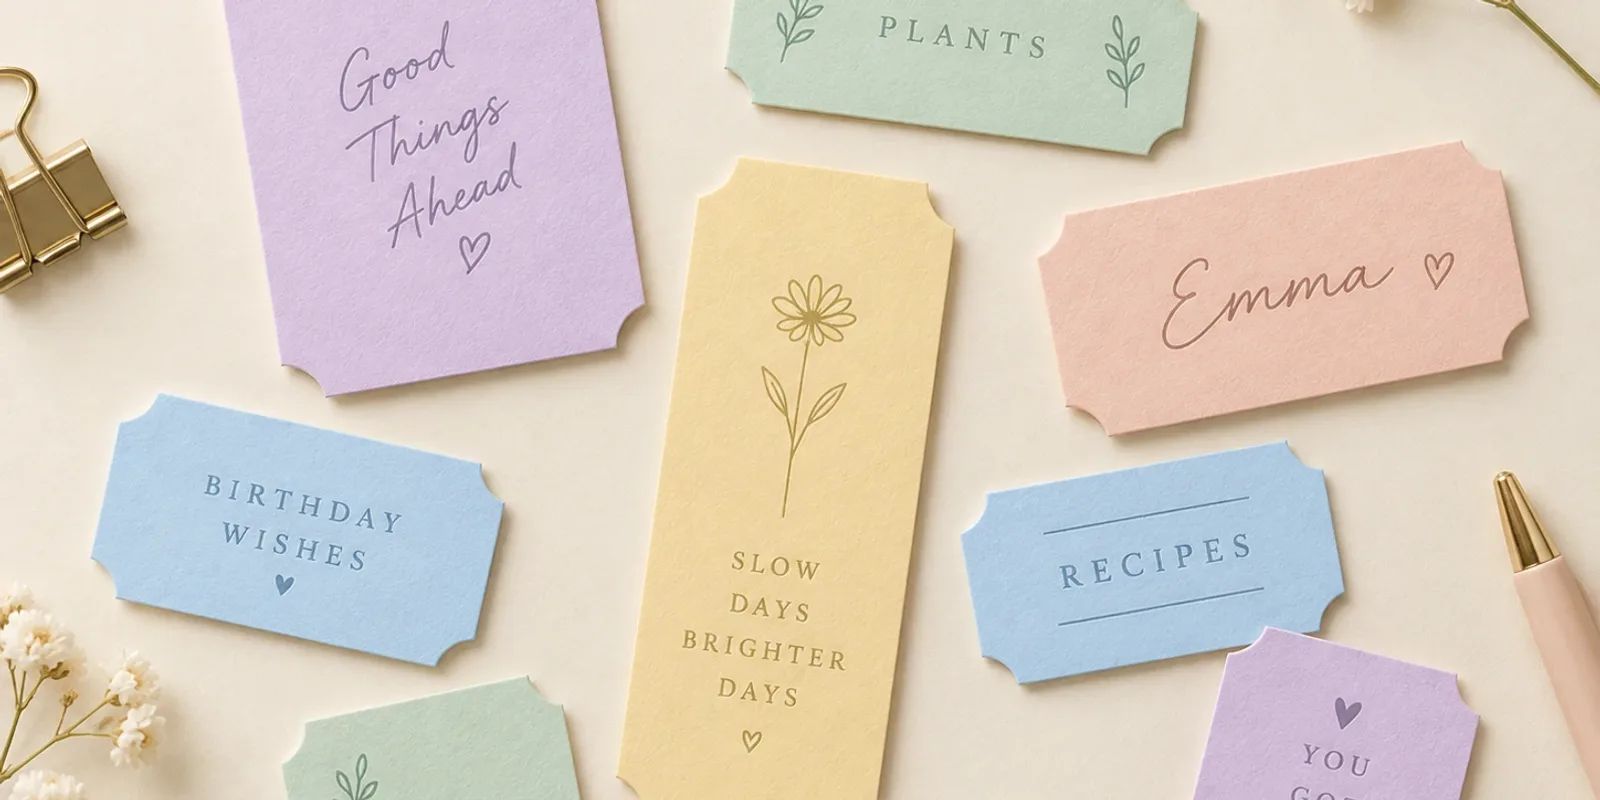
When you pick up a corner cutter, is your first thought to smooth off all four sharp corners of a sheet of paper?
But rounded corners are not the only possibility. The other cutting option on the aidox 2-in-1 corner cutter is an inverted corner—an inward-curving cut at the edge of the paper.
Instead of following the outer edge with a soft, rounded contour, an inverted cut creates a small inward curve at the corner.
It may seem like a tiny change, but it can become the starting point for an entirely different design.
An ordinary card can take on the look of a keepsake ticket. A simple tag can gain a distinct personality through one thoughtful detail.
Changing the character of a card does not always mean adding decoration. Sometimes, a different cut is all it takes.
What Is an Inverted Corner? A Different Direction for the Curve
Picture a simple rectangular card.
A rounded corner replaces the sharp point with a smooth outward curve. An inverted corner creates an inward-curving notch instead. Both change the paper’s outline, but in opposite ways.
Think of a rounded corner as a gentle continuation of the original shape. An inverted corner feels more like a small pause in the outline—a detail that invites a second look.
Inverted Corners Are Not Just for Vintage Designs
Inverted corners may bring to mind tickets, labels, or decorative cards. Those are useful places to start, but there is no need to stop there.
Pair an inward-curving corner with ivory paper, a fine border, and a meaningful date for a vintage-inspired keepsake. Switch to blush-pink paper and a handwritten message for a softer mood.
Or keep the design completely minimal: a few words, generous white space, and an inverted corner as the only decorative feature.
An inverted corner does not belong to any one style. Its personality comes from the way you use it.
One Sheet of Paper, Three Different Personalities
A Touch of Nostalgia: Create a Keepsake Ticket
Imagine making a small card for a birthday, a trip, or a day you want to remember.
You do not need complicated artwork. Start with an event name and date, add a meaningful number, and finish the outline with inverted corners.
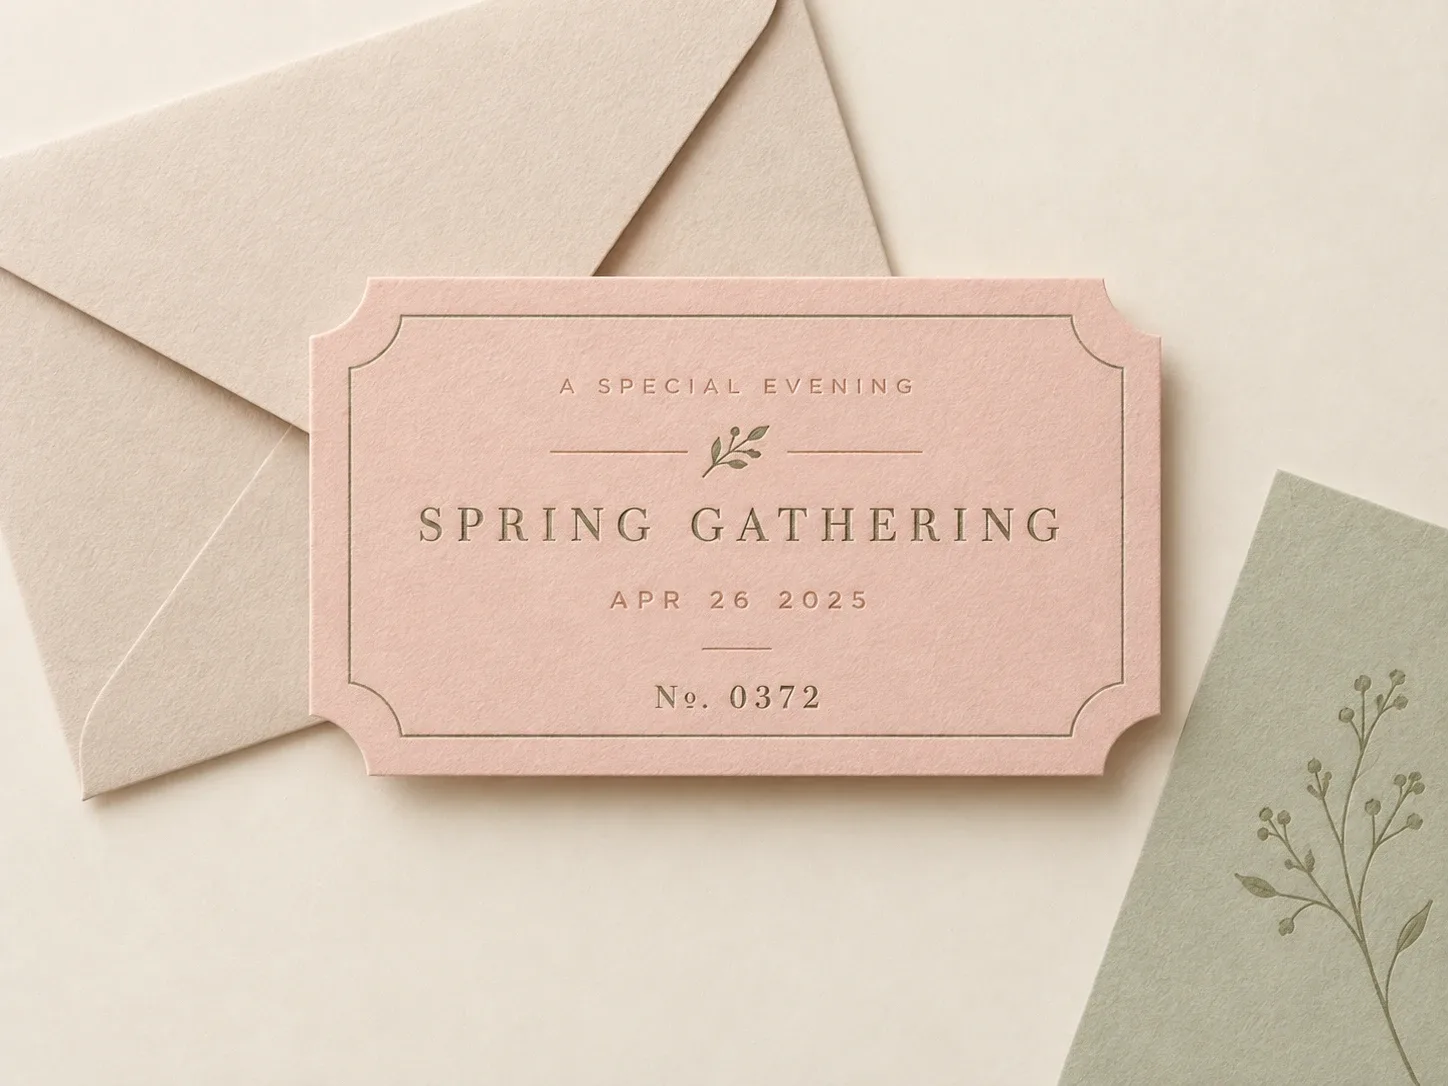
It does not have to function as a real admission ticket. It could be an invitation or a small keepsake for someone special.
Instead of asking, “What kind of card should I make?” try asking, “What moment do I want this person to remember?”
Let the words preserve the moment, while the corner shape helps give it a memorable form.
A Refined Touch: Give a Simple Message Its Own Outline
Sometimes all you want to say is “Thank you,” perhaps on a small card tucked into a gift.
If you do not want extra artwork to compete with the message, try making inverted corners the main design detail.
Choose a solid-color card, center the message, leave breathing room around it, and see how the inward curves work with the overall proportions.
The same idea can become a gift tag paired with a simple paper bag or wrapping paper. Not every part of a design needs ornamentation.
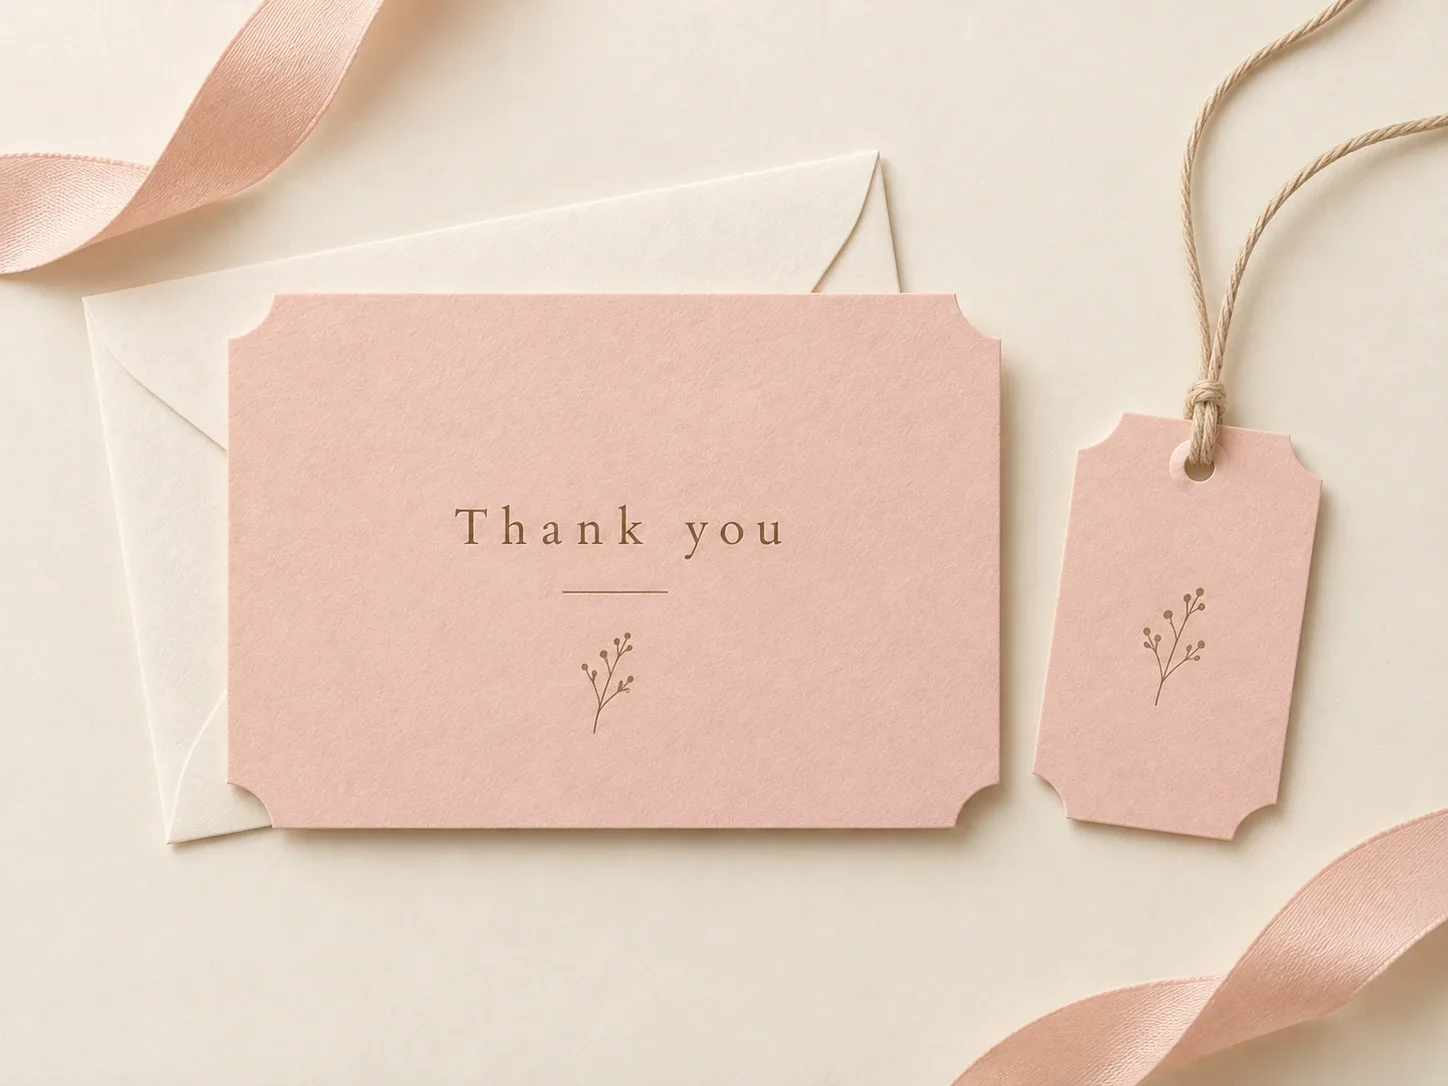
The goal is not to make the card more complicated—it is to give a simple design one thoughtful detail.
A Playful Touch: Explore Unexpected Pastel Combinations
Inverted corners can also feel playful and contemporary.
Try butter yellow, peach pink, mint green, or pale lavender. Add a small illustration or a lighthearted phrase and see how the mood changes.
The result might become a note for a journal, a label for a storage box, or a name card for a gathering.
You can even create a coordinated set in different colors, using the same inverted-corner shape to tie the pieces together.
Here, the corner is not assigned to a particular product. It simply becomes another element to explore alongside color and layout.
Do You Have to Cut All Four Corners? Start with Just One
It is natural to cut all four corners when you pick up a corner cutter. But your design does not have to begin that way.
Try one inverted corner and see how it relates to the words or artwork. Then experiment with two opposite corners, or use the same cut on all four.
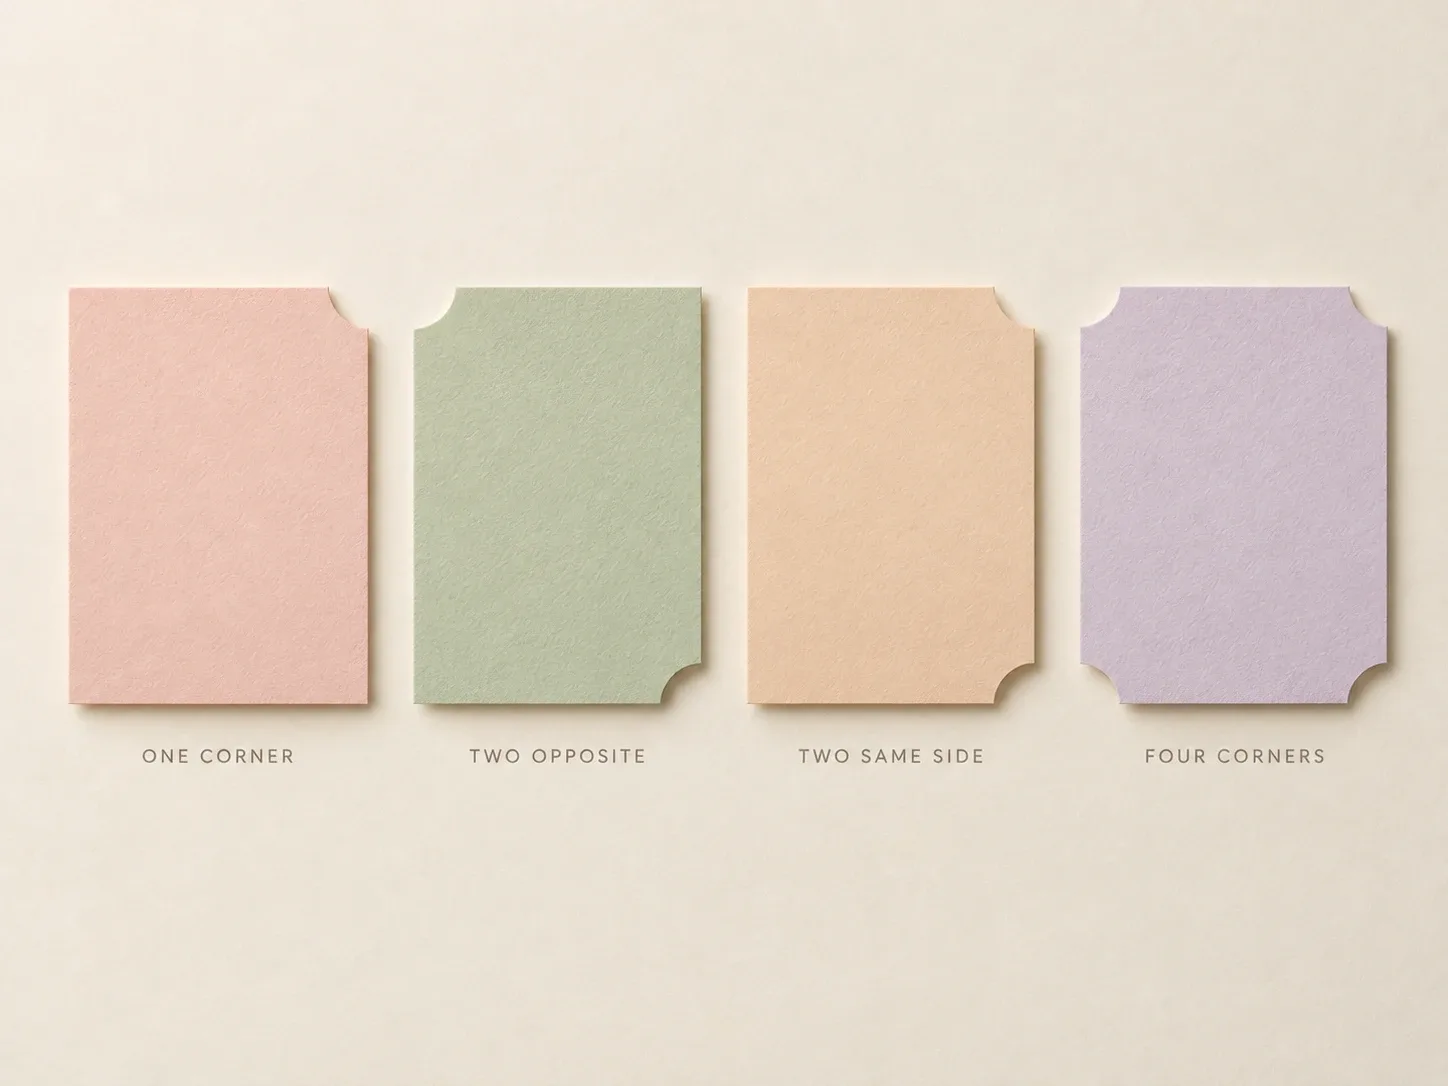
Whether you prefer symmetry or a slightly unexpected arrangement, compare a few samples before deciding.
What matters is not how many corners you cut, but whether the result supports the design you have in mind.
A purposeful detail is more valuable than changing every corner just because you can.
Not Sure Which Look Works? Try a Three-Card Experiment
Prepare three sheets of paper in the same size and color.
Leave the first one square, round the corners of the second, and give the third inverted corners. Add the same message or artwork to each, then place them side by side.
Instead of asking which one looks “best,” ask yourself:
Which one feels closest to what I want to express?
You may prefer the soft curves of rounded corners—or find that inverted corners suit this particular design better. A different color or message might change your answer.
There is no need to give each tool a single prescribed purpose. Let the design guide your choice.
Before Cutting, Leave Room for Important Details
Test the cut on a spare piece of the same material before positioning text, logos, or decorative borders. Keep anything important away from the area that will be removed.
Always follow the cutting capacity specified for your model and material. For example, the stated capacity of aidox models 1051 and 1052 is up to four sheets of 80 gsm copy paper. That does not mean they can necessarily cut four sheets of cardstock of any thickness.
aidox: More Than One Creative Look in a Single Corner Cutter
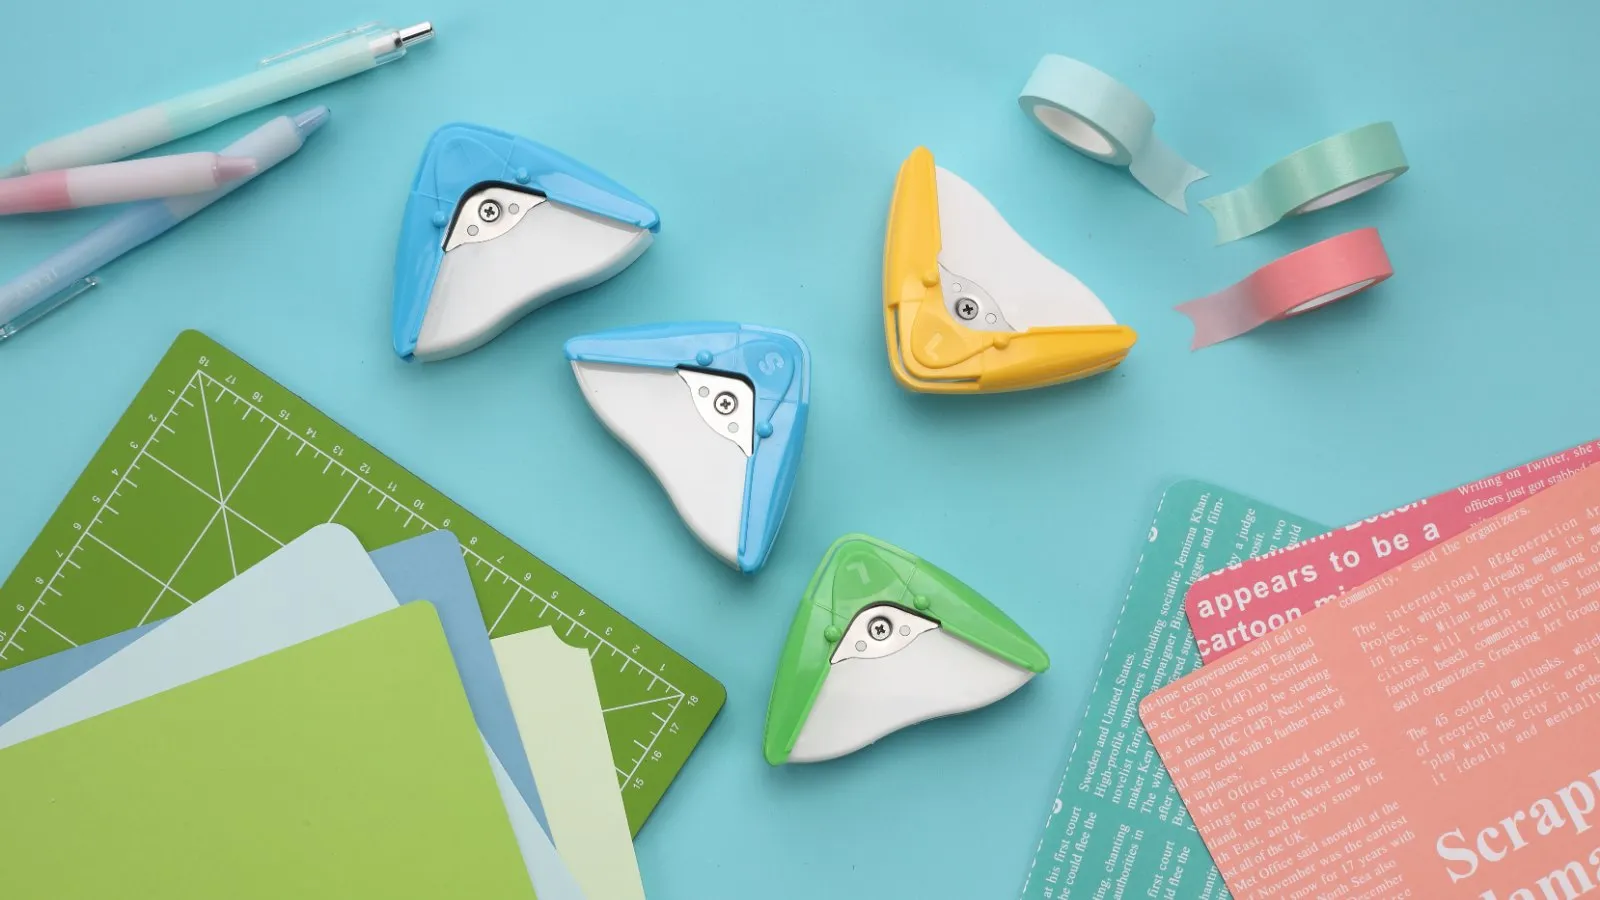
The aidox 2-in-1 corner cutters come in two versions: model 1051 (S) creates R5 rounded corners, while model 1052 (L) creates R10 rounded corners. Both also offer an inverted-corner cutting option.
When choosing a rounded corner, consider how much of the original straight outline you want to keep. With inverted corners, you can make the corner itself a more noticeable design feature.
We believe the value of a tool goes beyond completing a cut. It also lies in giving people more ways to bring their ideas to life.
A single piece of paper does not have to be defined by one purpose.
It might become a greeting card, a gift tag, an event invitation, or a little creation that does not even have a name yet.
Next Time, Let the Curve Turn Inward
Not every card needs inverted corners, and adding more decorative cuts does not automatically make a design better.
But when something feels missing, consider the corners before adding another illustration or changing the typeface.
Perhaps the answer is not to add something more, but to remove a small piece of paper and reveal a new outline.
Rounded corners give lines a gentle turn. Inverted corners add an unexpected touch.
What kind of personality will your next card have?
Comments
Thoughts on this article? Comment on our Facebook page, or send us a message.